Installing Drupal - Why its one of the most easiest installation
A step-by-step technical guide on how to easily install and set up a Drupal project using Composer and DDEV for local development and module integration.
Installing Drupal can be a task or it can be easy based on how you go about it. This is my guide on how I set up Drupal Core for module integrations and product development.
How I set up a Drupal Project
This is the bare minimum as it allows us to TEST & SEE the progress in real time. But setting this up is often challenging for many of us. Especially venturing into first time integrations. I have broken it down step by step so that it becomes easier for you.
You might but AI for the steps but trust me it may guide you wrong 😭
You will need ddev & git installed on your computer
Step 1: Creating a project
Just be this step we can set up a sample project without any configurations. Here intead of drupal_sandbox, your name can be anything. Literally anything!
composer create-project drupal/recommended-project drupal_sandbox
cd drupal_sandbox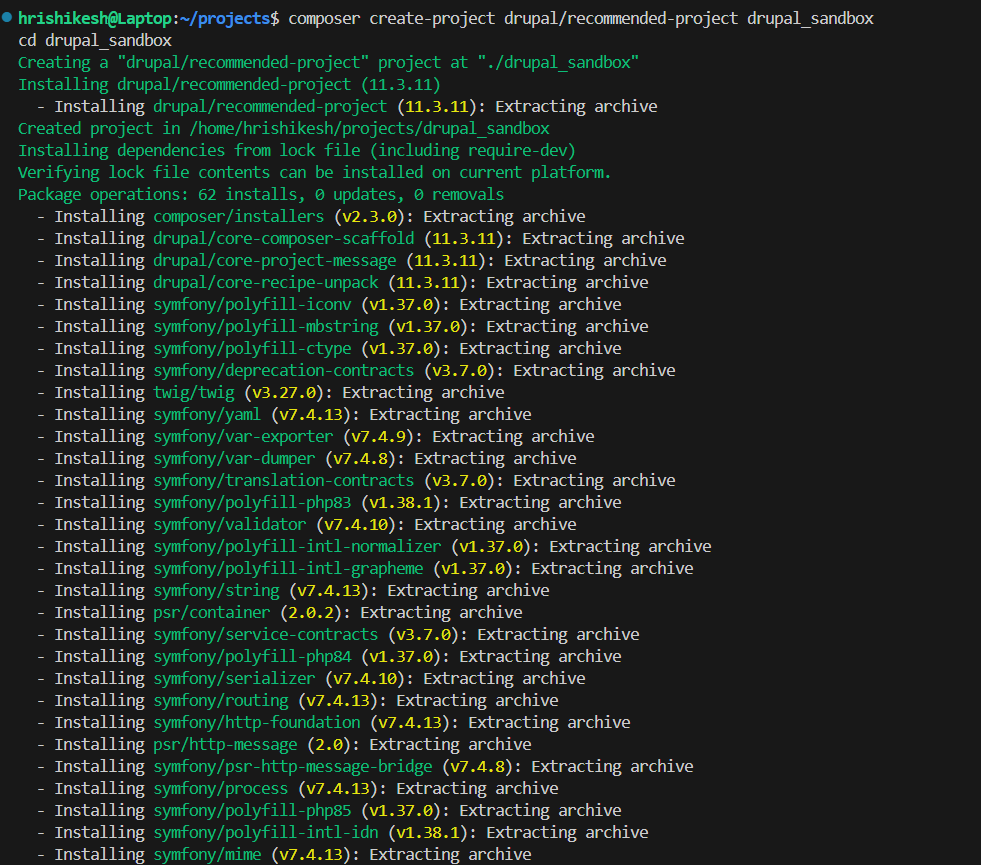
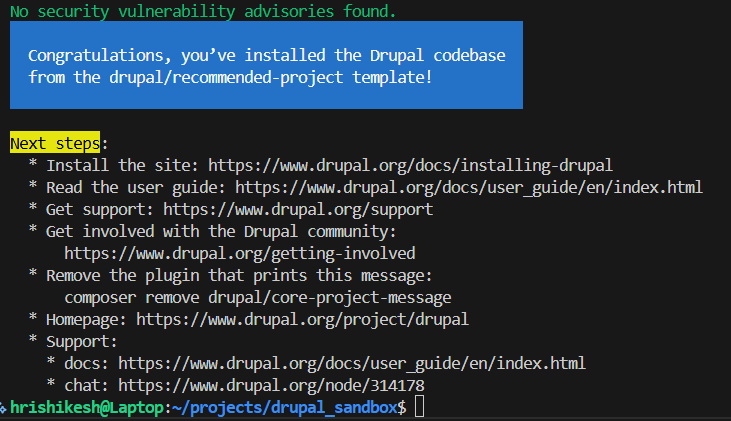
Step 2: Making the ddev config file
This file is responsible for handling your environment under the hood. Press ENTER after running this command. It takes care of the following:
1) The Engine Type (type): Tells the system what framework you are using (like Drupal 11). DDEV instantly optimizes the Nginx web server and PHP settings specifically for that framework's unique code structure.
2) The Front Door (docroot): Defines the exact folder that is exposed to the internet (like the web/ folder). It acts as a security barrier, blocking public access to your raw backend code, configuration files, and third-party dependencies.
3) The Toolbox (php_version, db_type): Locks in the exact version numbers for your programming language, database engine, and runtime tools so your local server perfectly matches your production server.
4) The Autopilot (hooks): Contains a list of custom terminal commands that you want executed automatically at specific moments—like running database migrations or flushing caches right after the containers turn on.
ddev config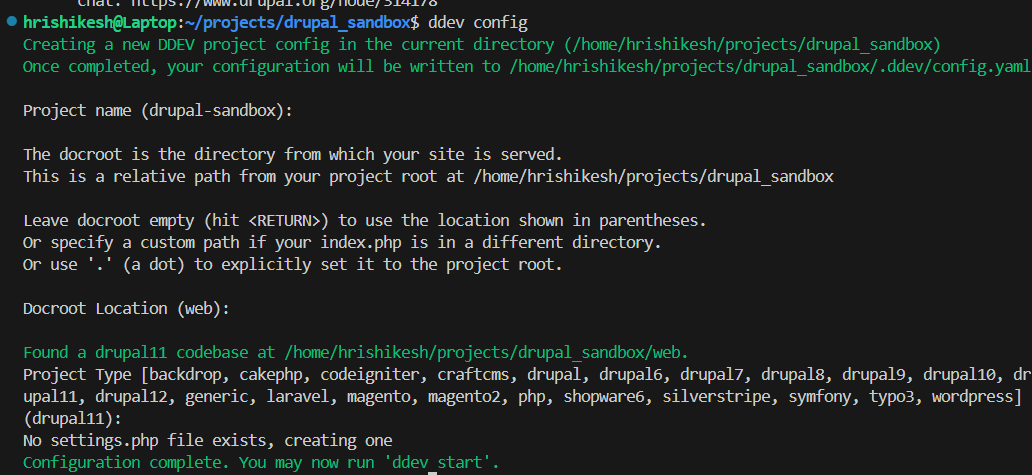
Step 3: Start it
Now you should run ddev start. Chances are it might throw an error :(
ddev start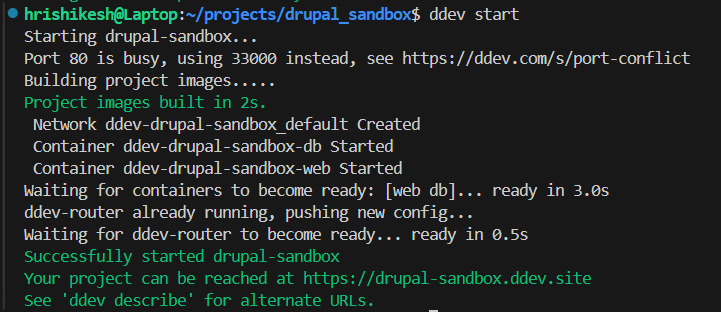
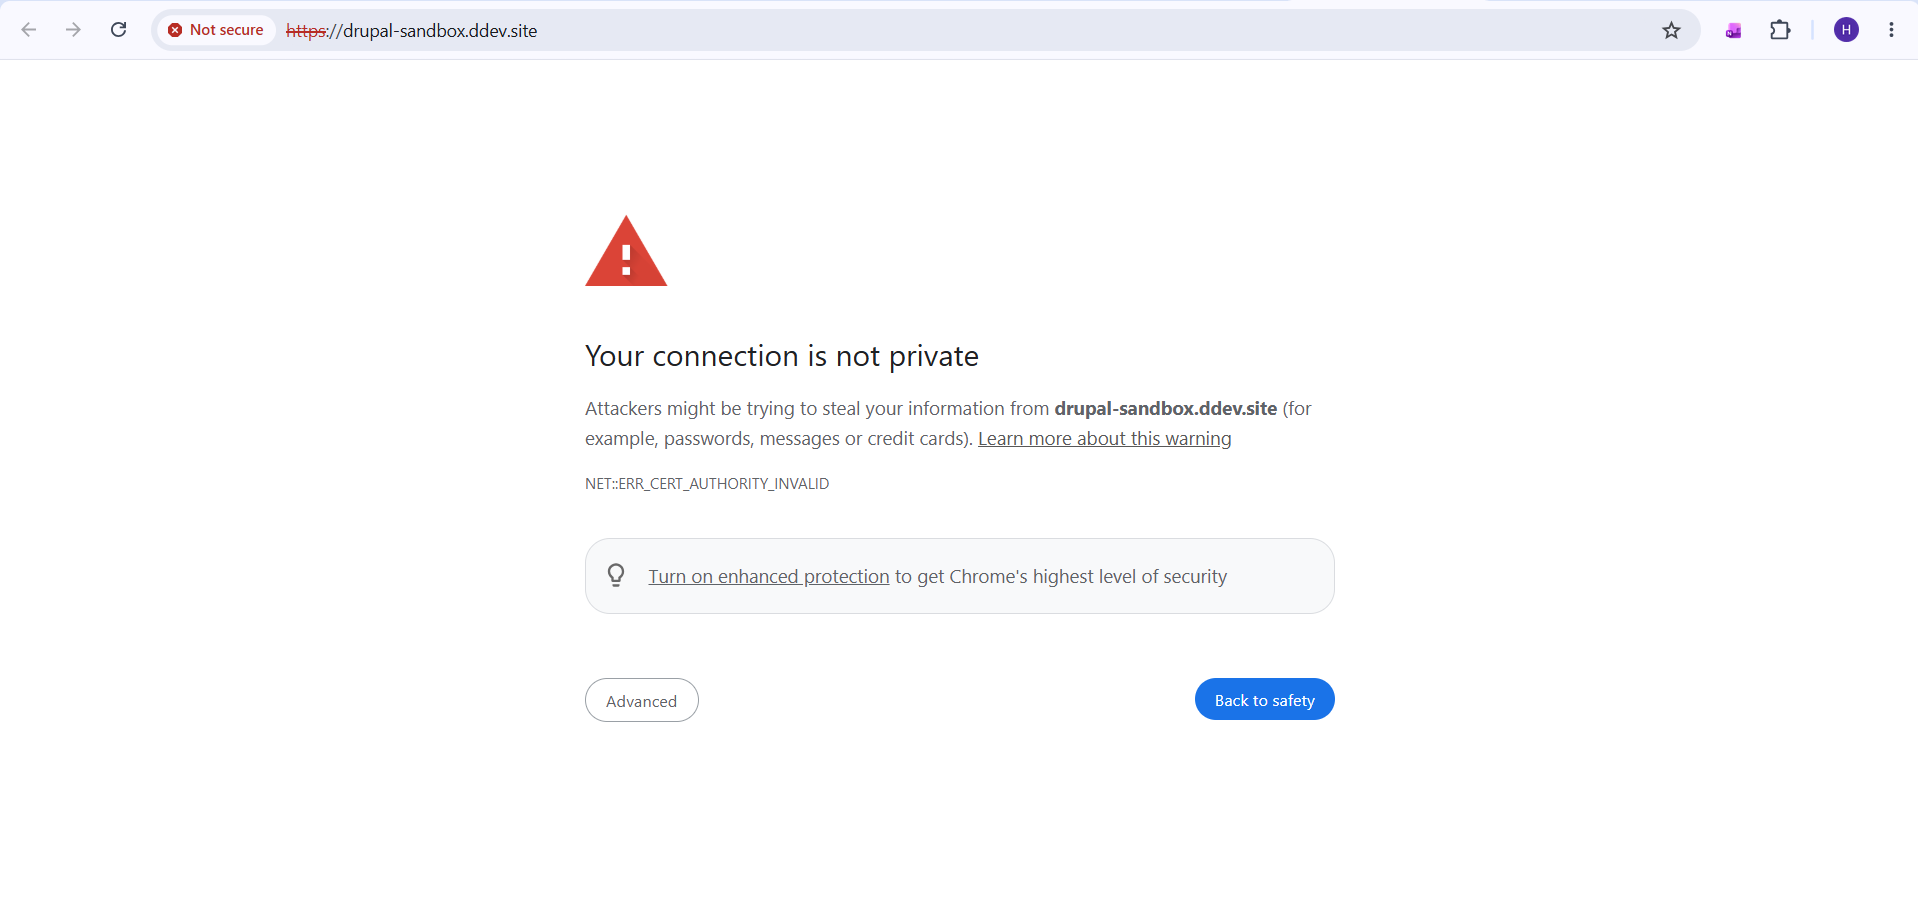
This typically happens due to port mapping issue. Now a quick fix around this is that you can change the port mapping in the .ddev/config.yml file at the line number 47 & 48. Update it with these lines and then do the restart.
router_http_port: 8080
router_https_port: 8443ddev restart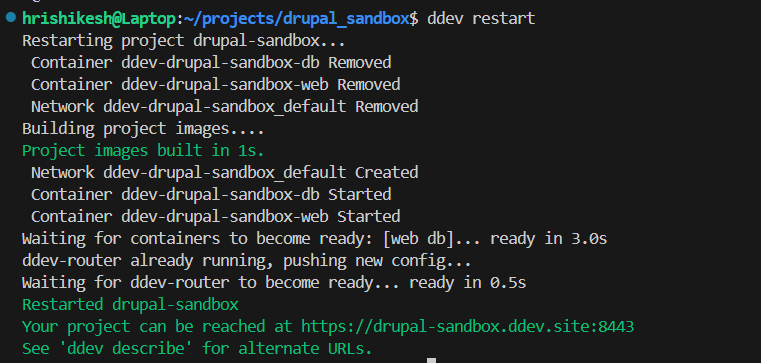
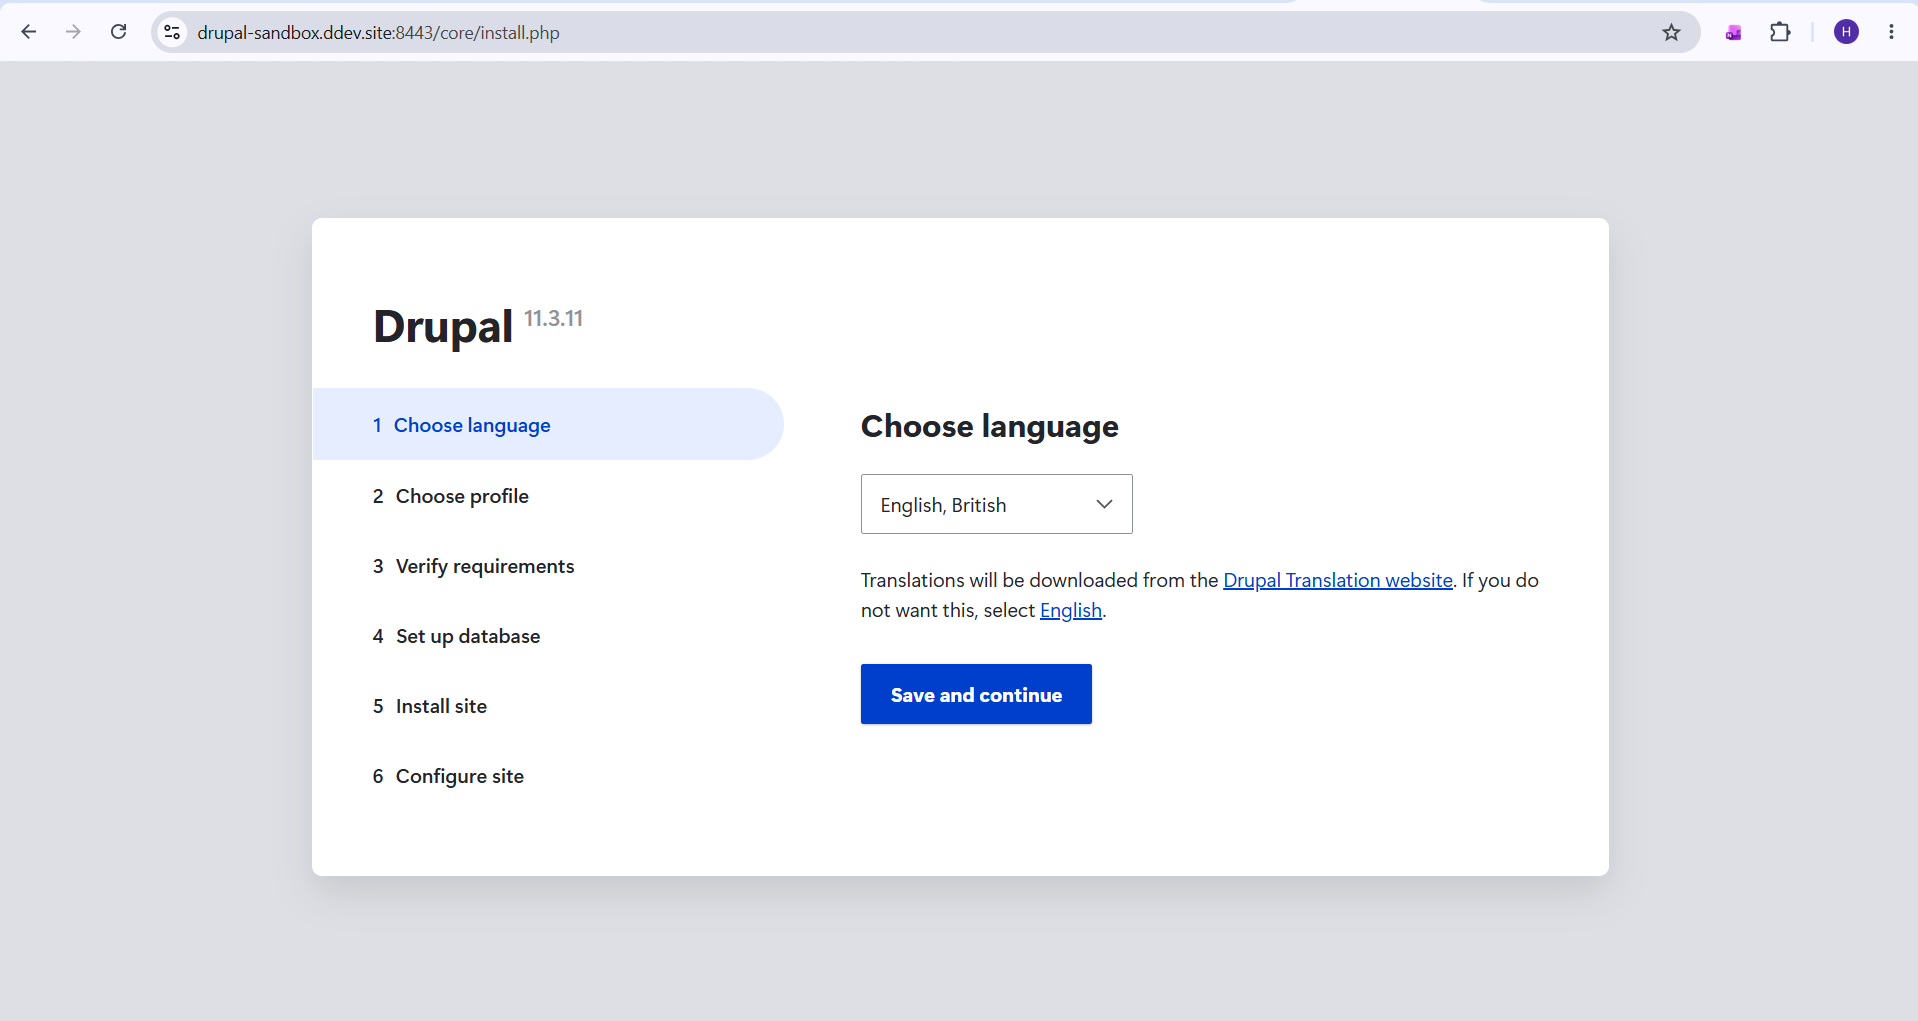
Step 4: Specifications Selection
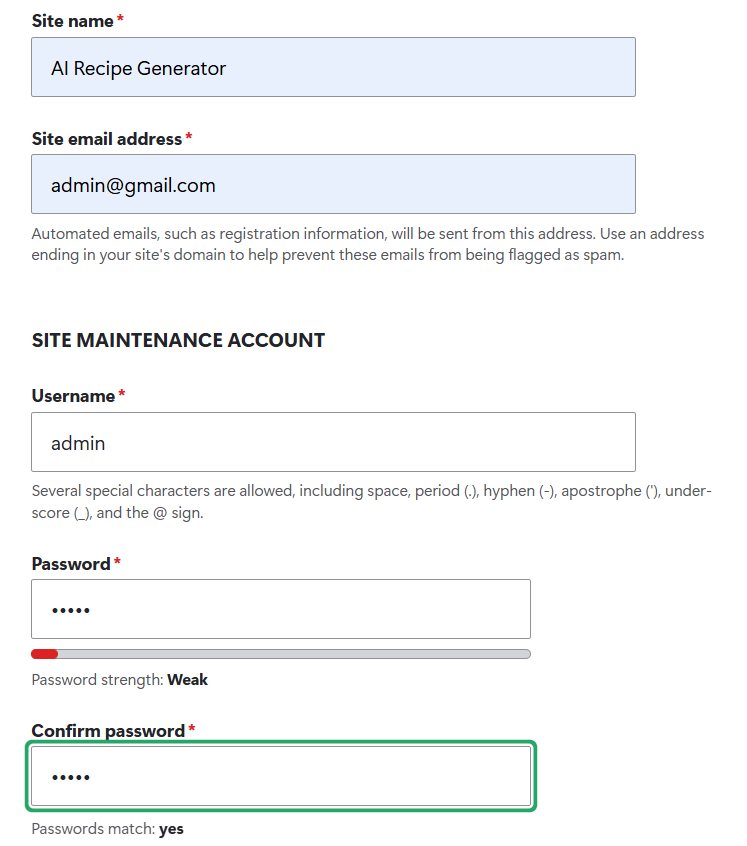
Select Save & Continue for most of it. Now when prompted for the email, username & password. Type something that you remember. I usually type: admin (for username & password)
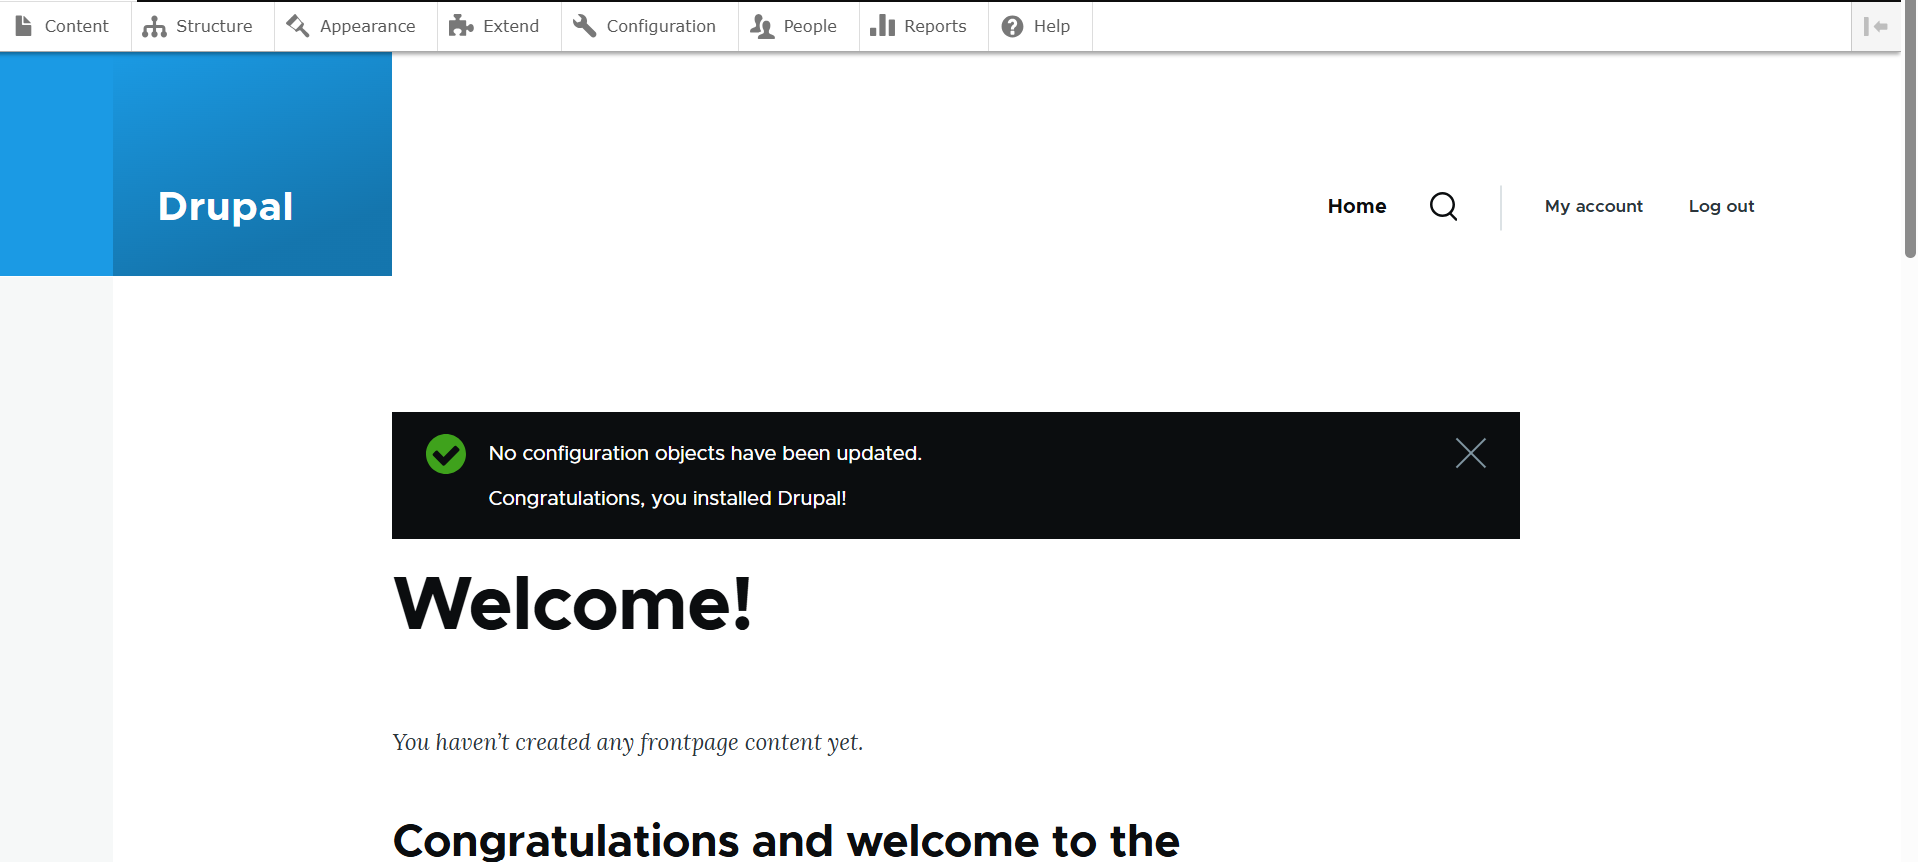
Congrats!
You have finally installed Drupal! Now you can start contributing here as well.
Hrishikesh Dalal
Full-stack developer passionate about open-source software, web technologies, and building products that matter. Currently exploring Drupal ecosystem through Google Summer of Code. Interested in PHP, JavaScript, and system design.